Wool Soakers
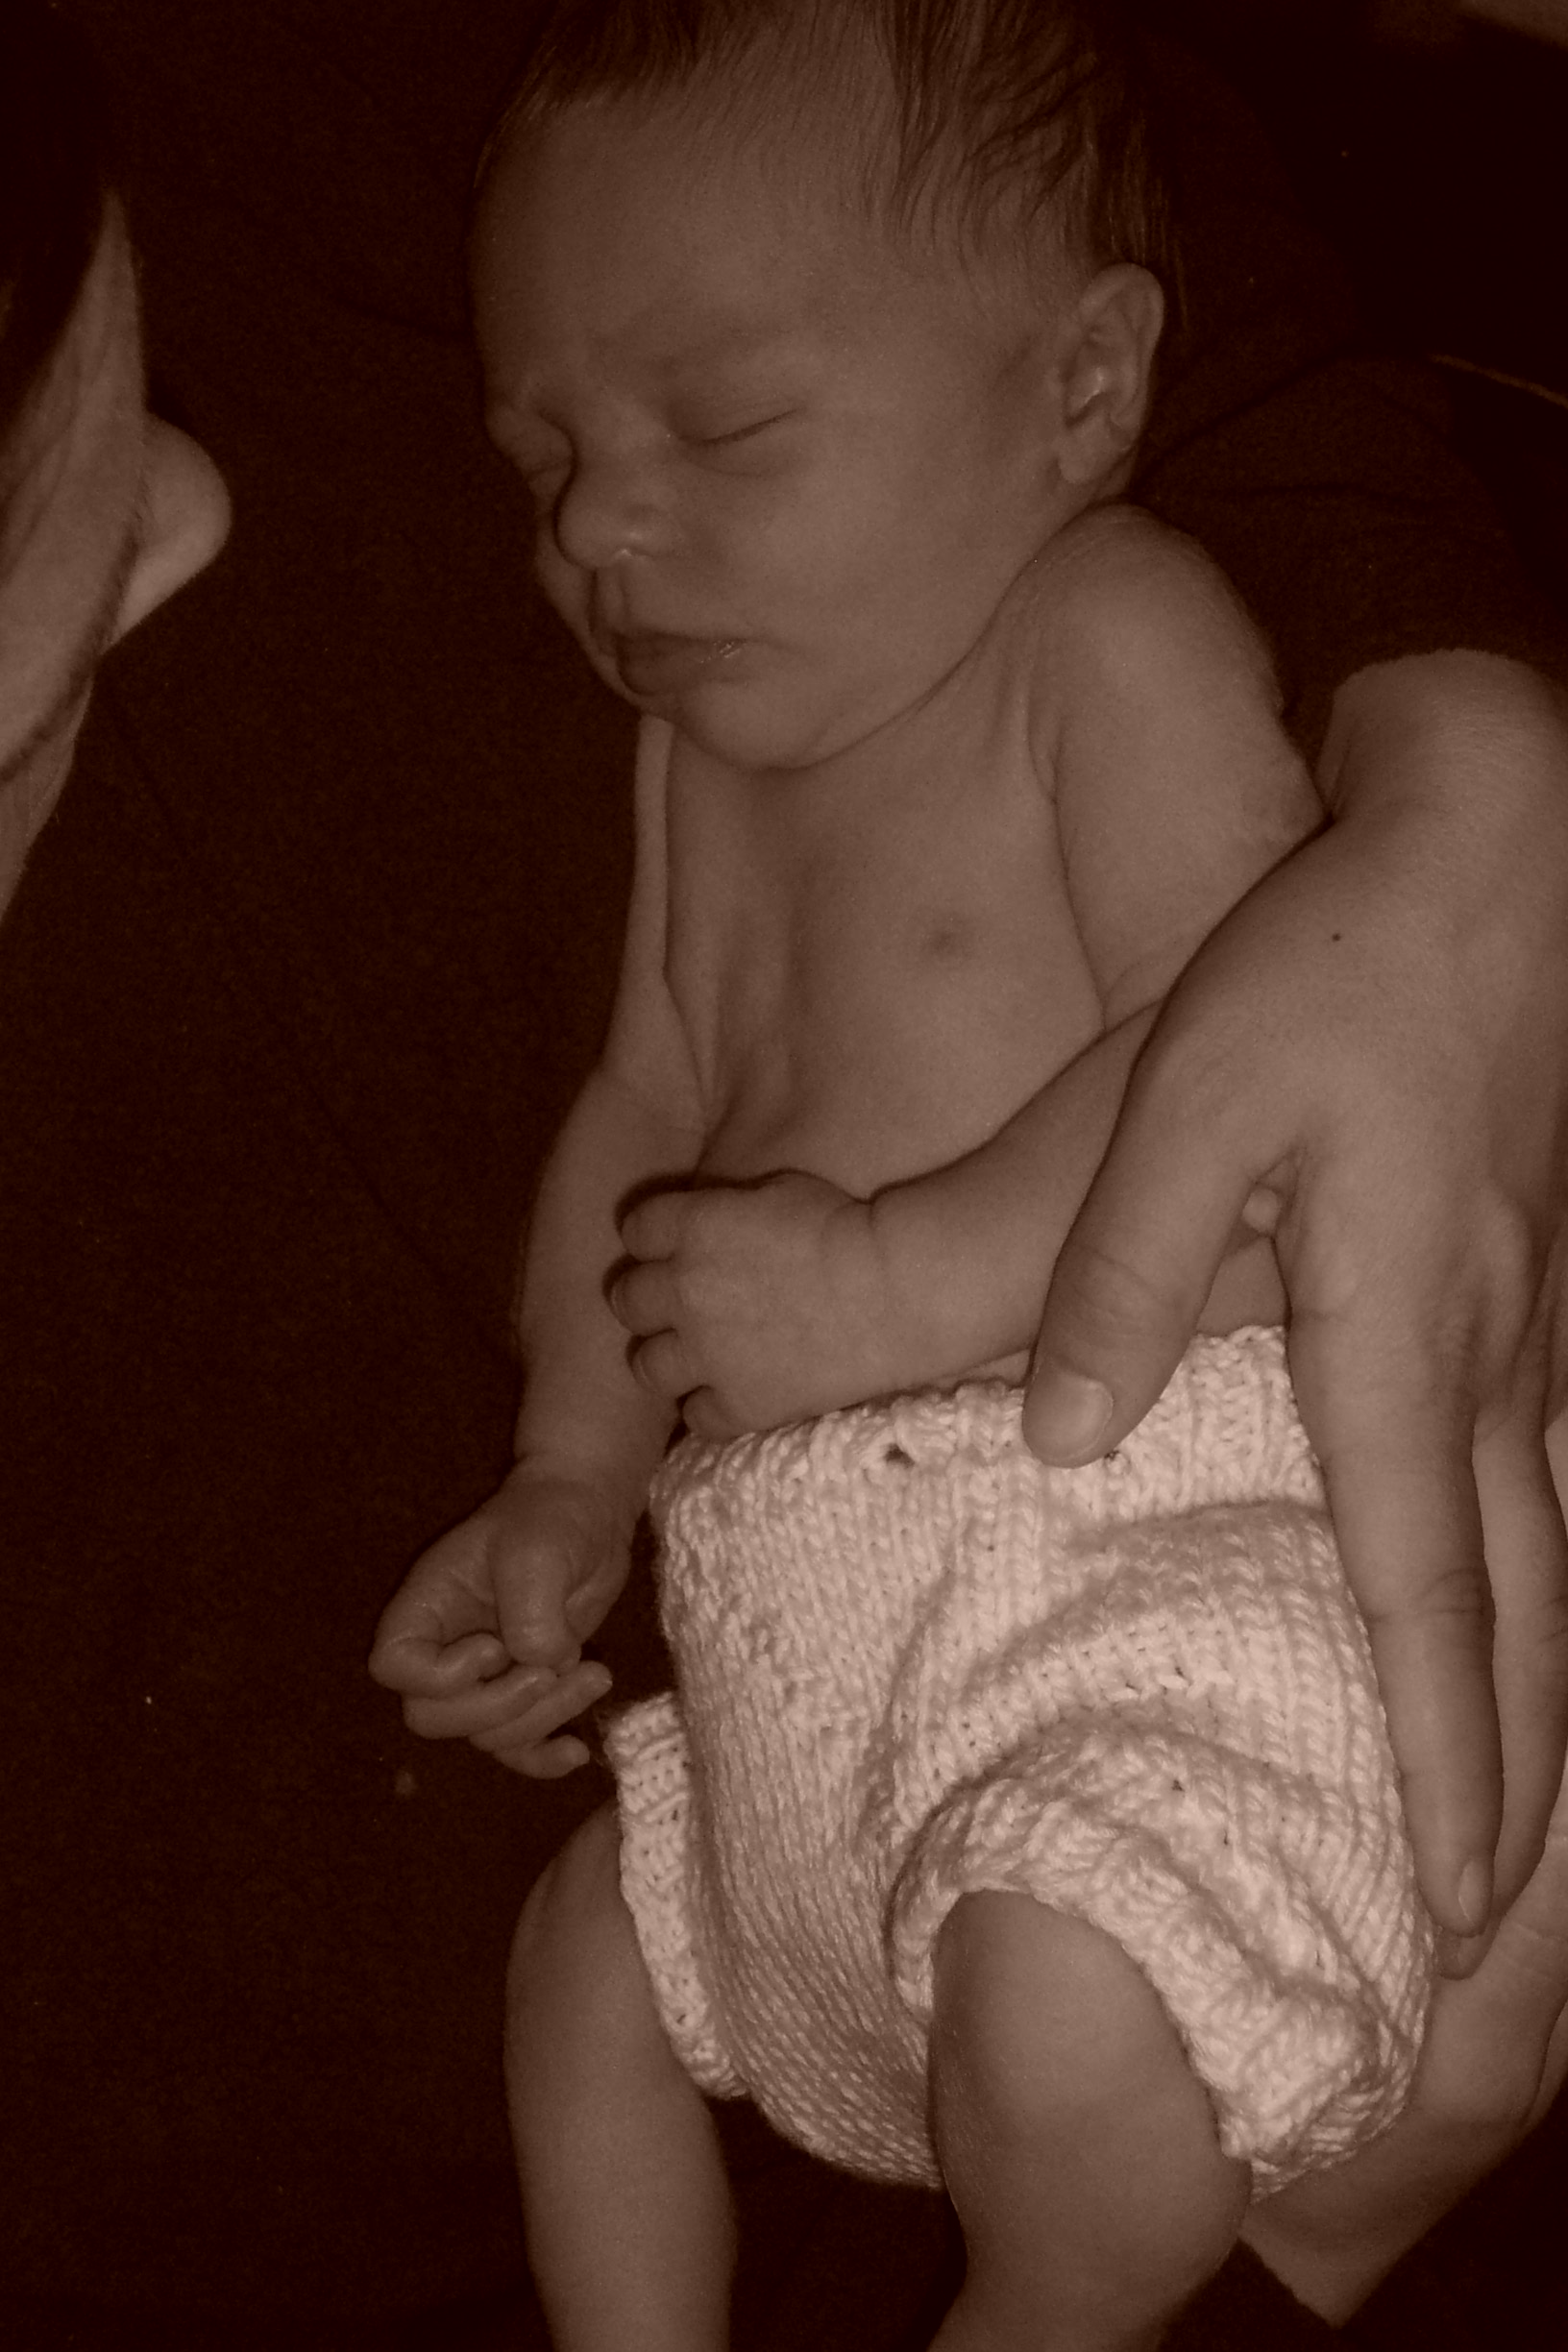
Here is a picture of some wool soakers and our son wearing them. We have improved the pattern since these were made, but these will give you a general idea of what they look like. They may look funny, but they are quick to knit and they work well.
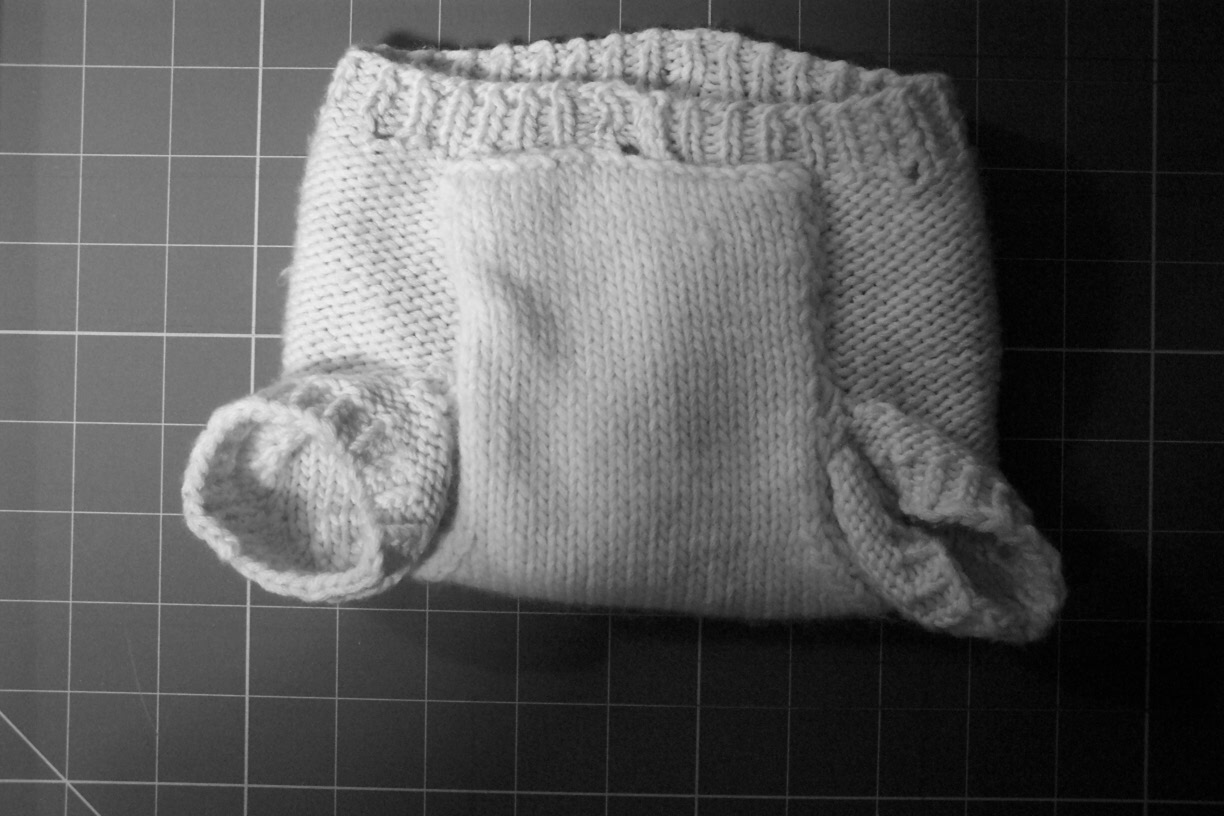
Here is a soaker. When I was first making soakers I didn't make the ribbing part long enough. The ribbing on these soakers is about one inch. More ribbing works better because you don't want any of the diaper to peek out. The directions below recommend 2" of ribbing.

-knit tightly: Use needles much smaller than recommended for the yarn you are using. Use needles even smaller for the ribbing part of the pattern. For example - if the yarn calls for size 6 needles, you might use size 4 or 3 depending on how toghtly you normally knit. You would then use size 3 or 2 for the ribbing part if you want a snugger fit around the waist without using a draw-cord.
-don't use superwash wool: I've read that the soakers won't work with superwash wool because of how the wool is treated to make it machine washable and dryable.
-knit a gauge swatch: You don't need to go crazy and knit a perfect 4" square, but do knit enough to know the general number of stitches per inch. This is important because this pattern is a formula that you can adapt to different yarns and sizes of babies.
To start:
-Measure your baby's hips with a diaper on. Multiply this measurement by the number of stitches per inch that you are knitting.
-Cast on the number of stitches calculated above.
To knit the soaker:
Ribbing: Using the smaller needles, knit ribbing (knit 1, purl 1) for about 2".
Switch to larger needles.
row 1: knit to end of row
row 2: purl 2 together (p2tog), purl to end of row.
row 3: knit 2 together (k2tog), knit to end of row.
row 4: same as row 2
row 5: same as row 3
continue repeating rows 2 and 3 until 2 stitches. Knit these together and then draw thread through remaing stitch and pull to end. Leave a long tail (about 12 inches or so).
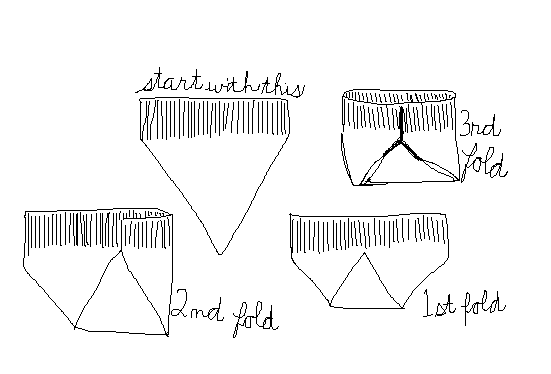
The next part is hard to describe. Below is a drawing of the assembly. It's not a very good drawing, but I was nursing my infant while I was drawing it. Fold the soaker the way described in the drawing and below, sew it together using the tail left above for one side. Leave leg openings slightly larger than your child's thighs.
For the legs on double pointed needles:
Figure out how many stitches you need to go around your child's leg and multiply that by your stitches per inch. Pick up this many stitches around the leg opening, distributing the stitches evenly around the needles (I usually use three needles, and knit with a fourth).
Knit with the smaller needles in Knit 1, Purl 1 ribbing for as long as you want the legs (I usually do about 10 to 12 rows). Cast off very loosely (I usually switch to the larger needles for the cast off. You don't want he cast off edge to be too tight.)
Repeat around the other opening.
A note: if you do not know how to knit in the round on double pointed needles, you will have to improvise for knitting the legs. The way that I would do it is to figure out how many stitches you need to go around your child's leg and multiply that by your stitches per inch. Fold the soaker the way described in the drawing and below, but do not sew it yet. Mark the place where you fold the botton part up with a colored piece of yarn or a pin or something. Pick up half of the stitches needed for the leg on each part of the marker. For example, if you need 40 stitches, pick up 20 on each side of the marker for a total of 40. Knit with the smaller needles in Knit 1, Purl 1 ribbing for as long as you want the legs (I usually do about 10 to 12 rows). Cast off very loosely (I usually switch to the larger needles for the cast off. You don't want he cast off edge to be too tight.) Repeat on the other edge. Sew as below, sewing the legs at the same time.
Liner:
This part is optional, but I have found it useful. I knit a rectangle and sew it into the interior for extra protection. I got the idea from looking at photographs of the Aristorcrat soaker. The Aristocrat is thicker in the middle than at the sides, or so it appears in the picture. Just knit a rectangle as wide as the crotch of the soaker and as long as the soaker is from front to back excluding the ribbing. I just sew it in and you can't see it from the outside.
Here is a drawing of the construction. Sorry it is so bad, I drew it on the computer while nursing my little one!